Setting up printers (print queues) for Mac
Please keep in mind that your computer must be connected to Eduroam Wi-Fi. Eduroam requires as username your NetID plus the domain name qatar.georgetown.edu – NetID@qatar.georgetown.edu.
- Open a browser window, and then go to the PaperCut Mobility Client installation setup page.
- Make sure the correct operating system for your device is displayed at the top of the screen. If it isn’t, click the icon for your operating system (icons for Windows, Apple, iOS, and Android operating systems are located at the bottom of the screen), and then click Download.

- In the pop-up window, select Save File and then click OK. The installer file will be downloaded to your Downloads folder.
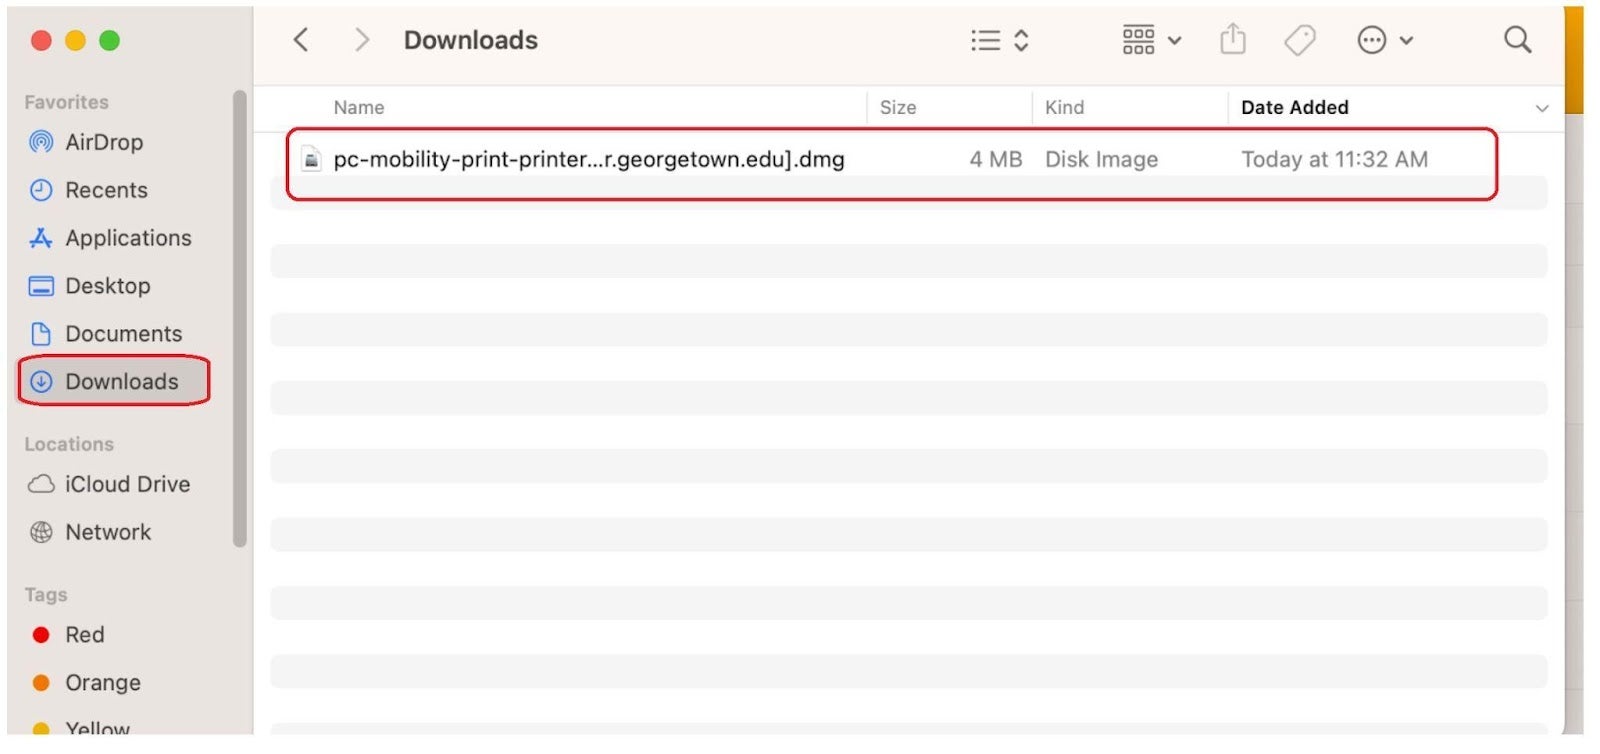
- Open a Mac Finder window, locate the installer file (the file name [.dmg extension] should start with “pc-mobility-print-printer-setup-1.0.42[GUQ-Print.qatar.georgetown.edu].dmg”, with a number string following it), and then double-click on that file.
- In the small Finder window that opens, double-click on the PaperCut Mobility Print Client icon.

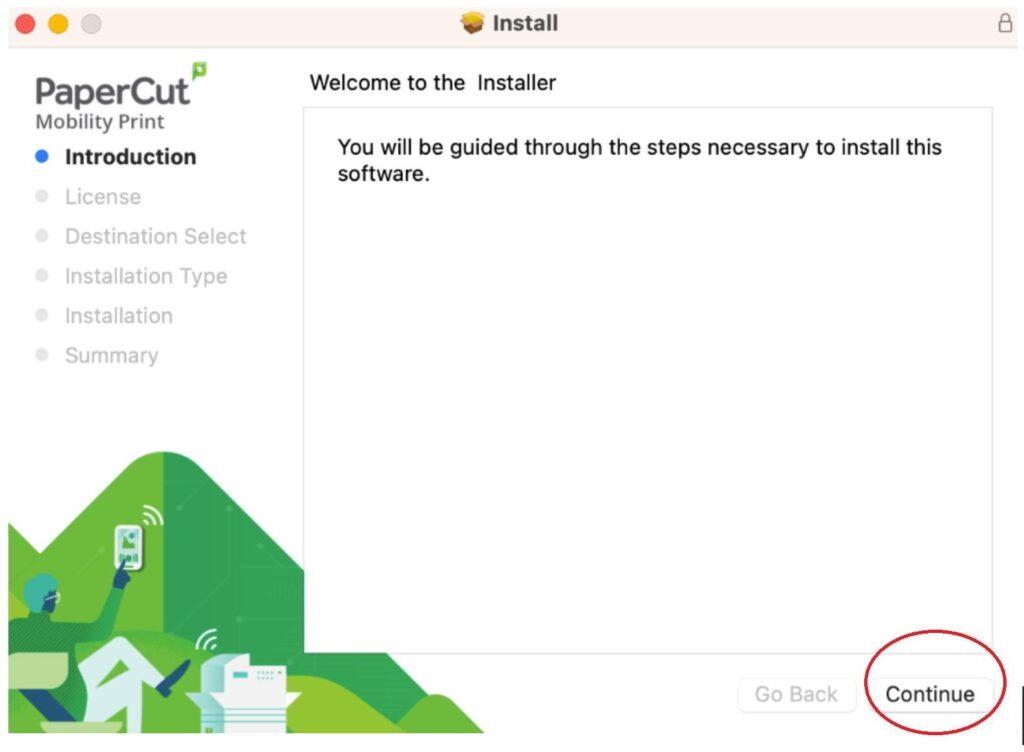
- In the client install welcome window, click Continue.
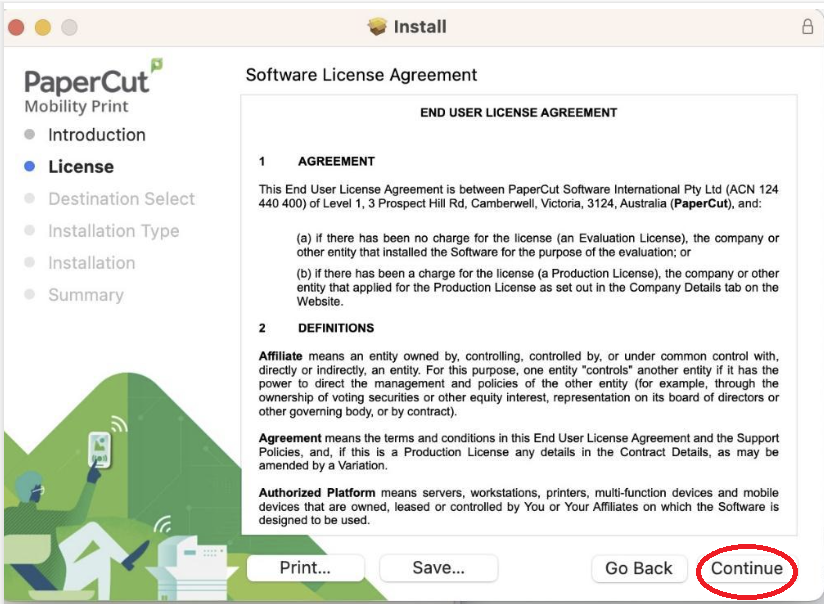
- In the “Software License Agreement” window, click Continue.
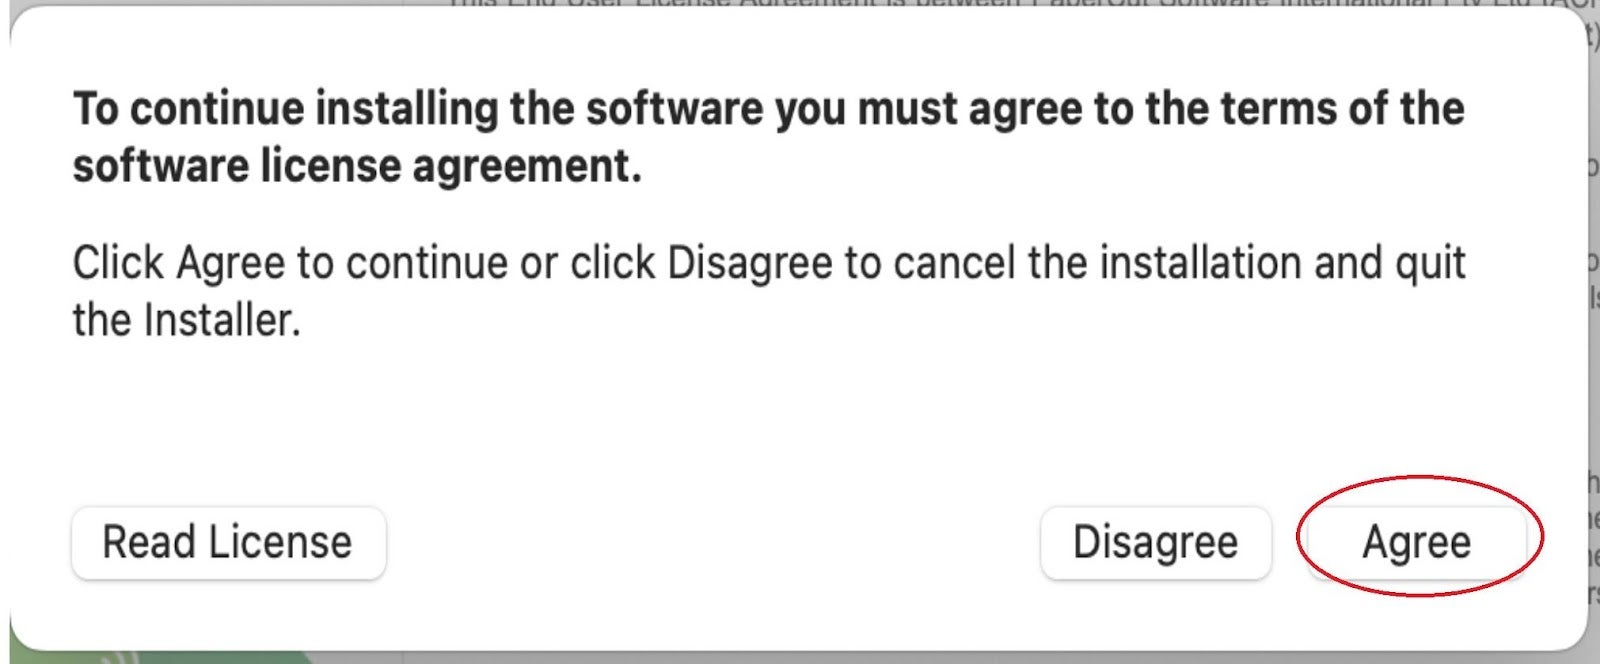
8. Click on agree
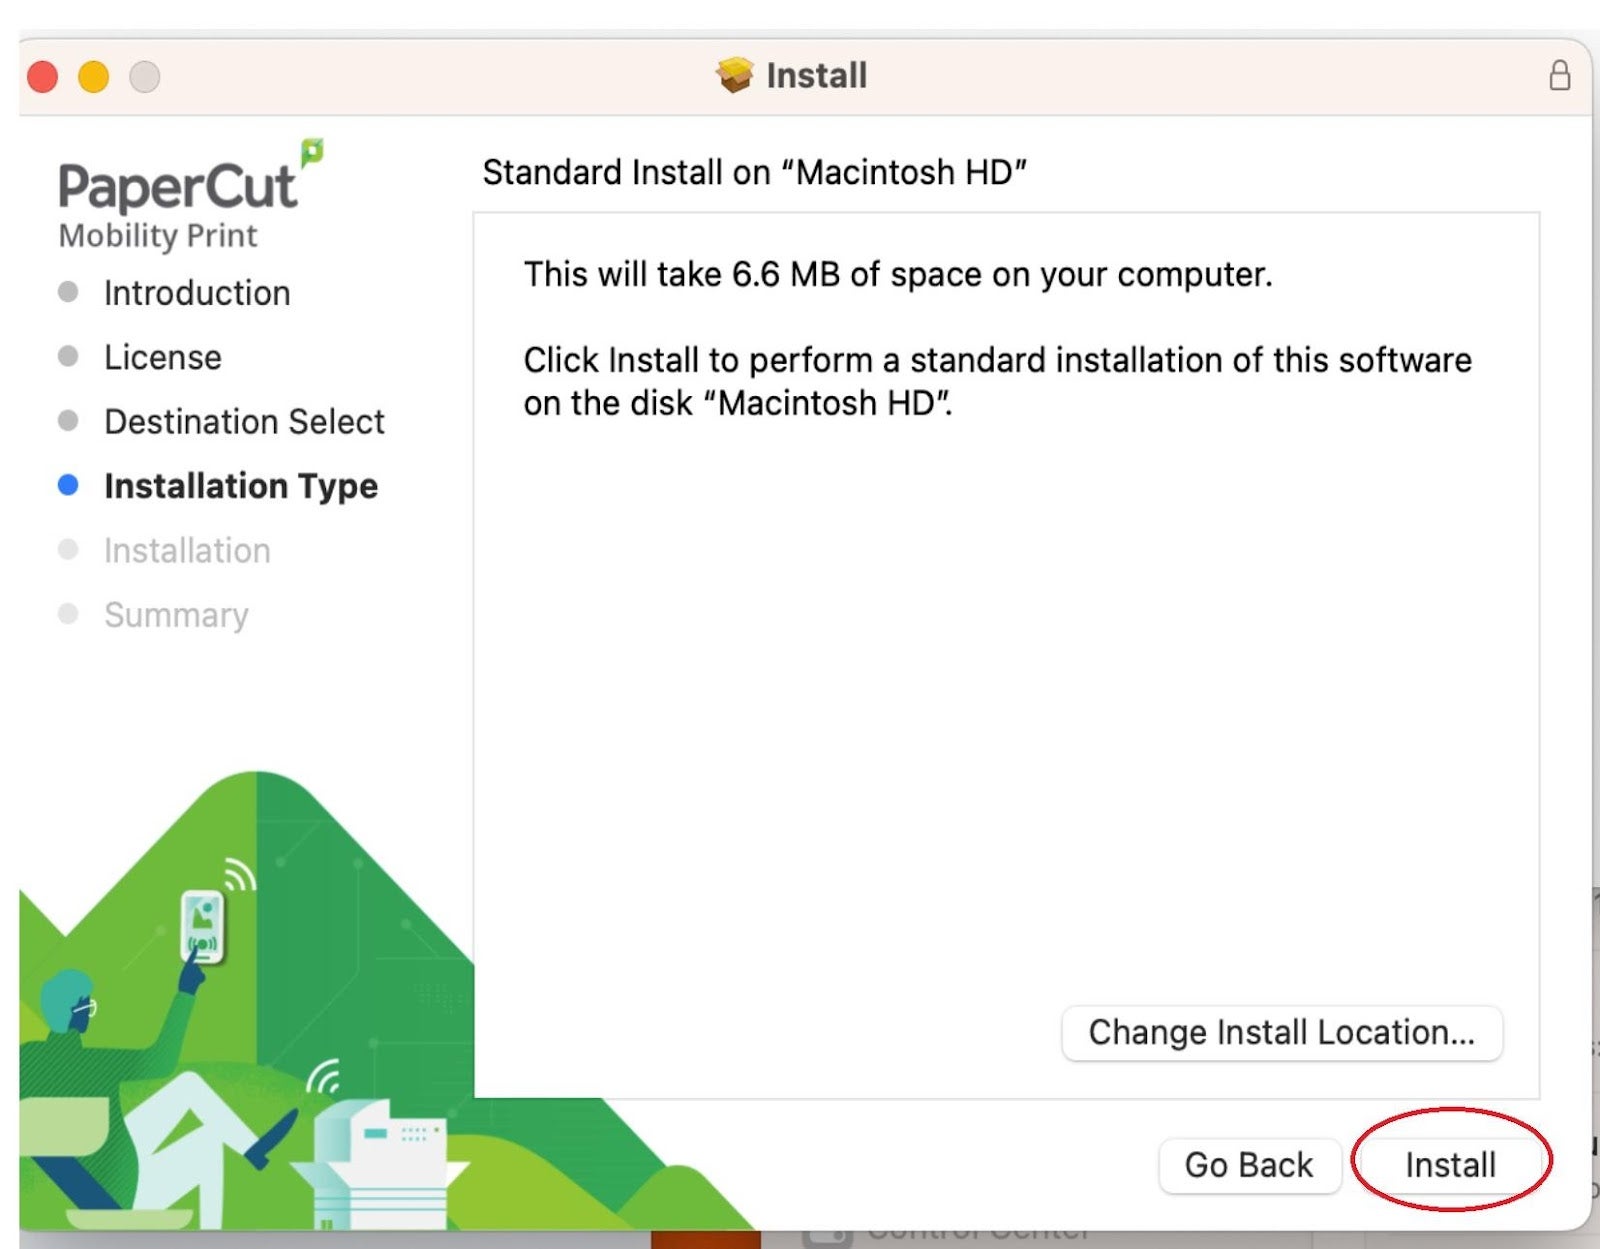
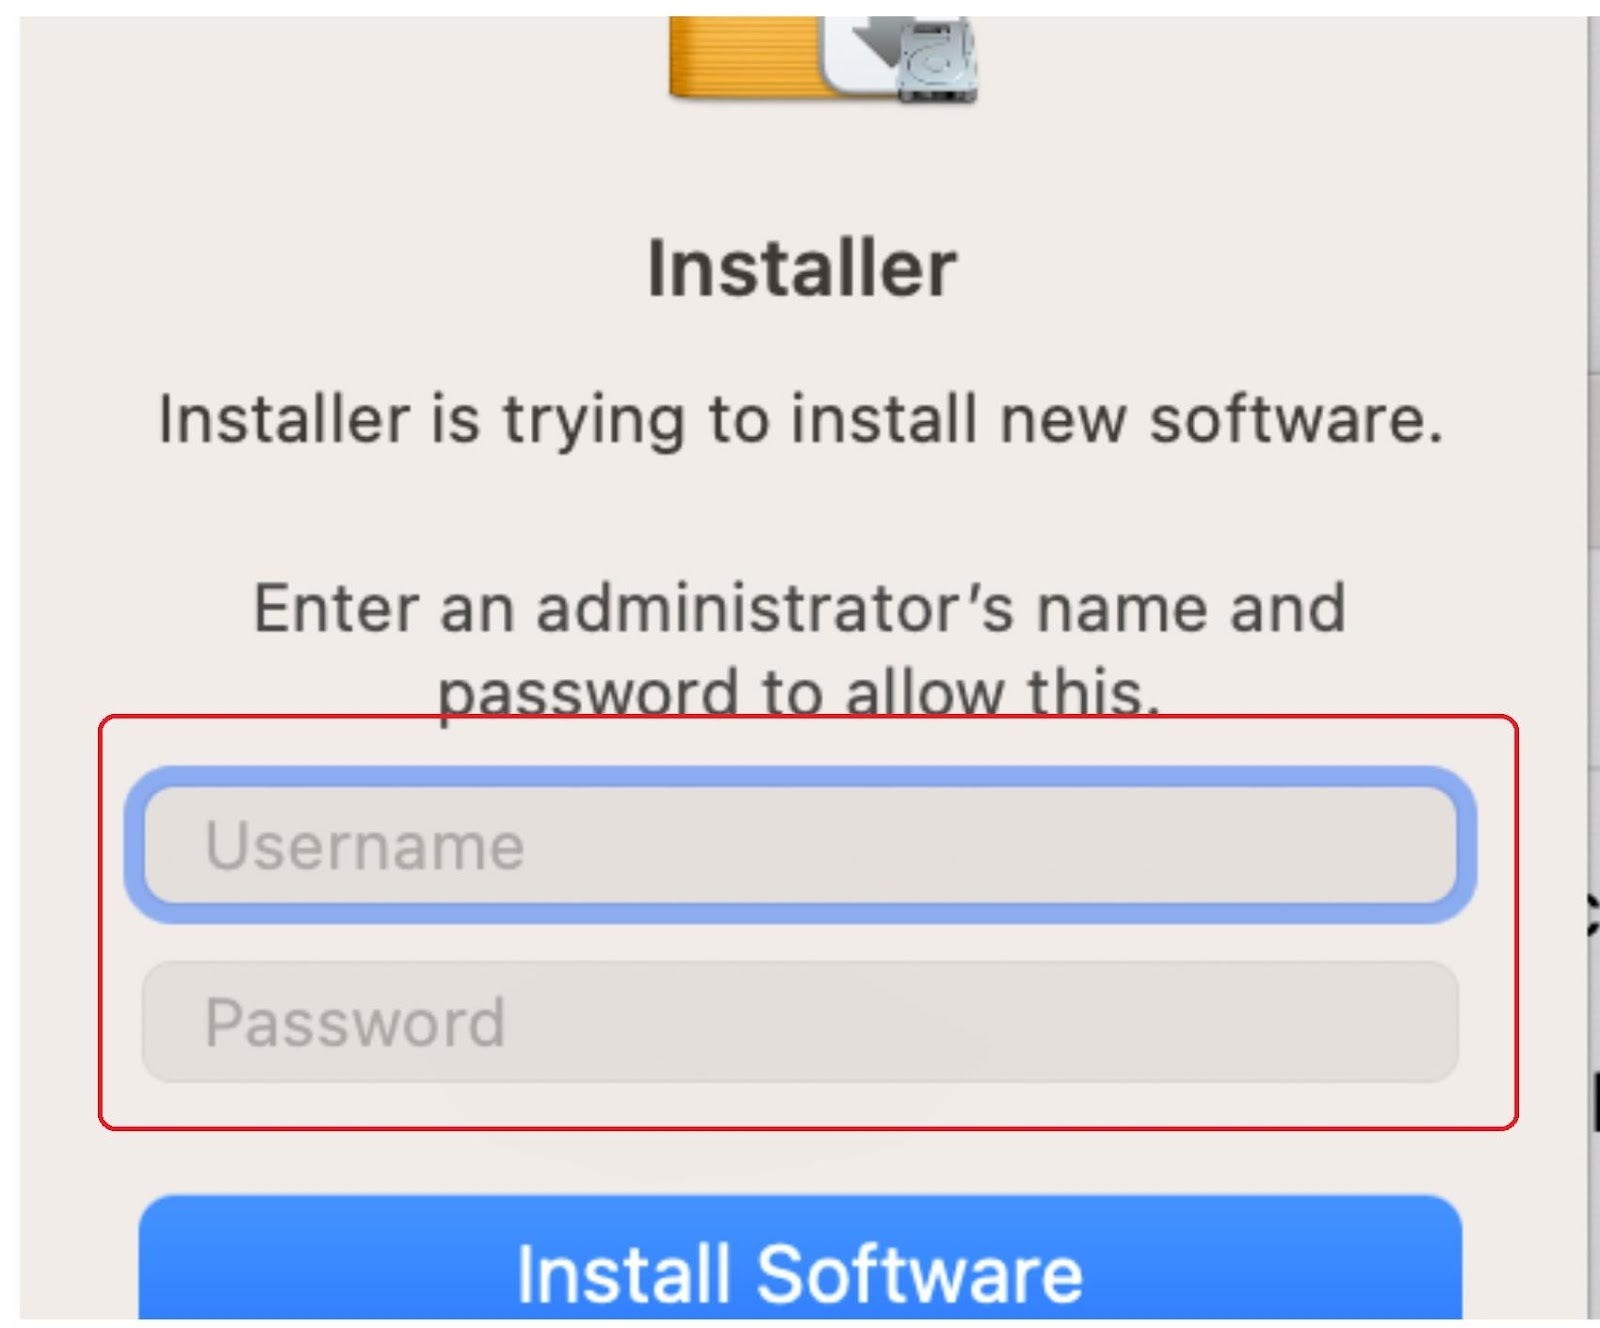
9. Click on install
- In the next window, enter your Mac computer password (the username and password you use to login to Mac), and then click Install Software to start the installation process.
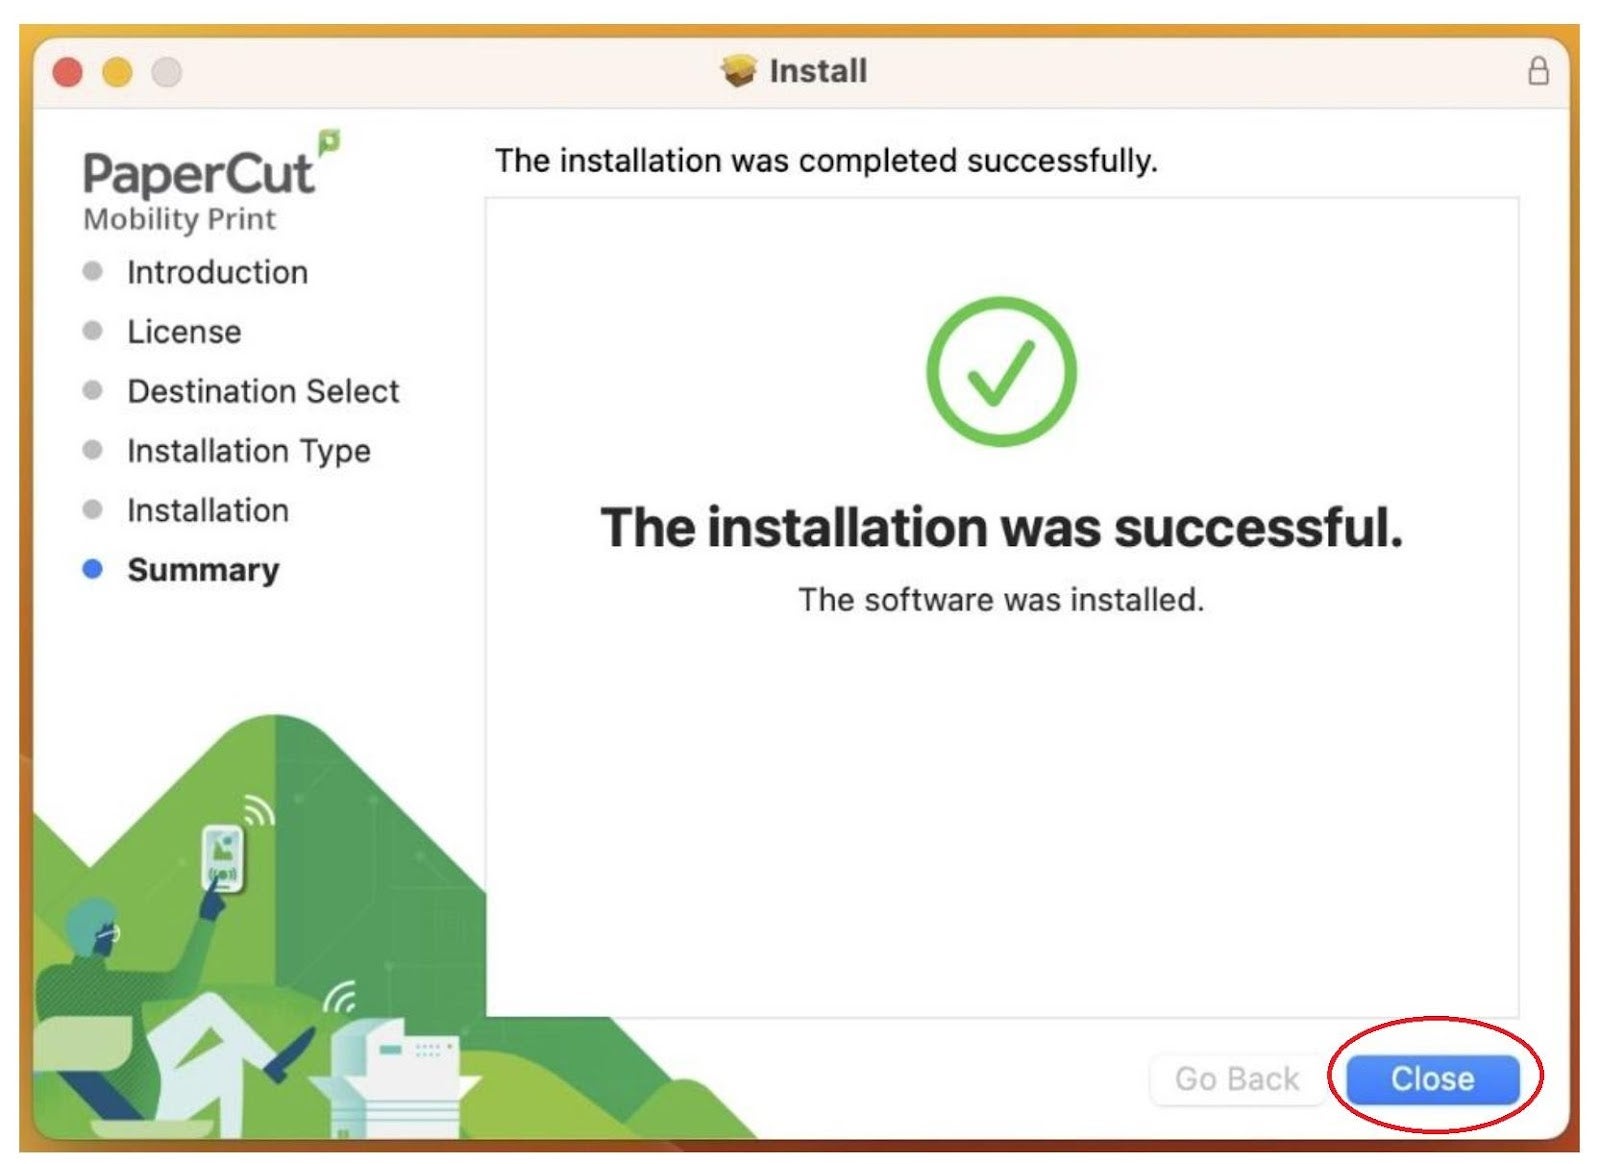
- In the installation confirmation window, click Close.
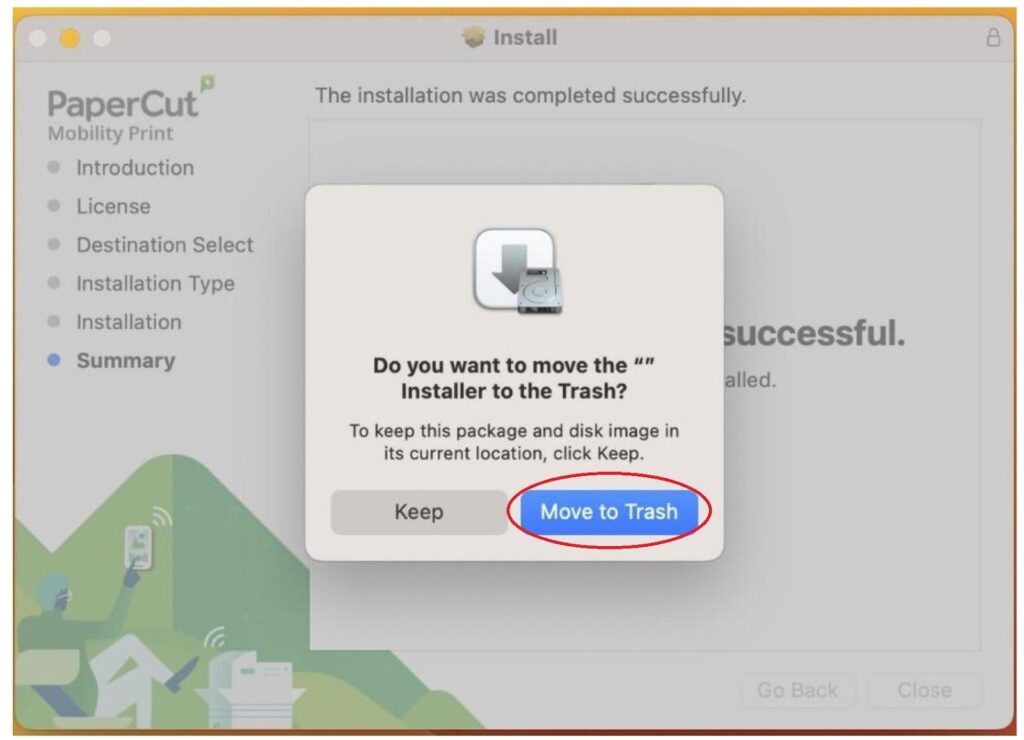
- If prompted, click Move to Trash to delete the installer file.
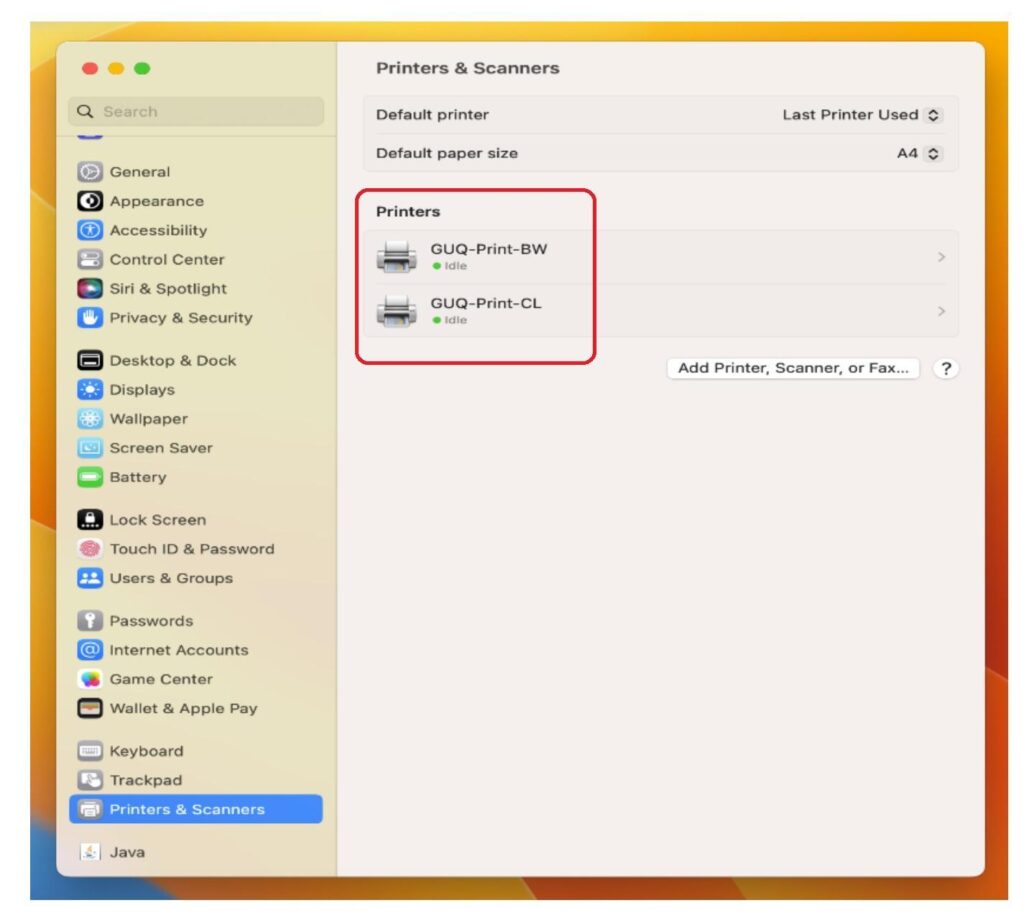
- Now Under System Preferences > Printers & Scanners, you will find 2 queues
- GUQ-Print-BW
- GUQ-Print-CL
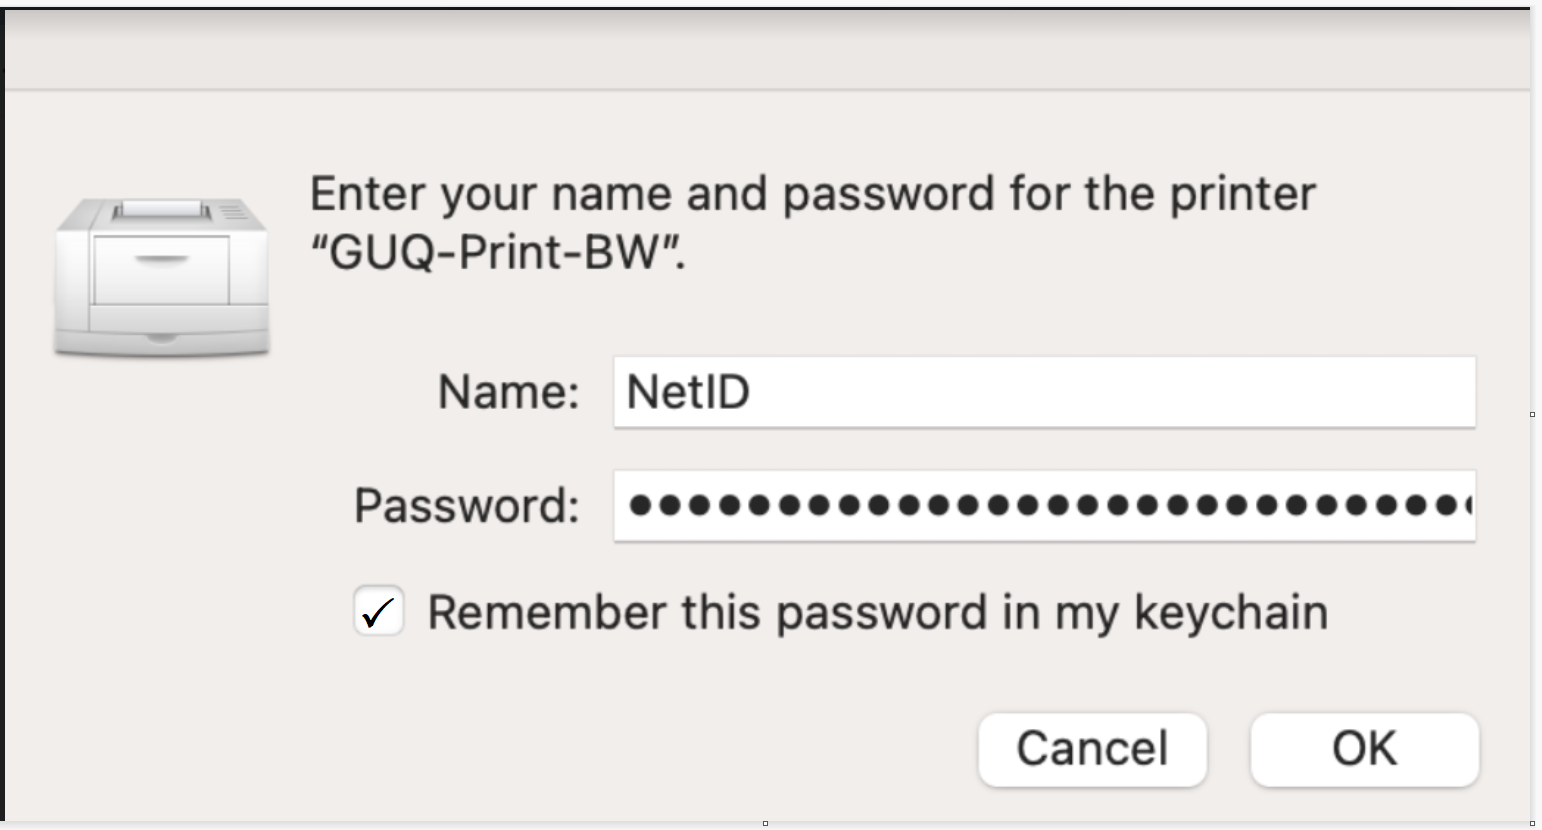
12. When it’s time to print, just print like you normally do. The first time you print to any of the two print queues, you will need to provide your GU-Q NetID and password and select ‘Remember this password in my keychain’.